The If/Else action allows you to evaluate contact-specific data and route workflow automation based on whether the contact meets certain criteria. It creates two or more logical branches inside a workflow depending on whether a condition is true or false. his enables you to tailor subsequent actions according to the contact’s engagement or characteristics.
Key Benefits of the If/Else Action
Use conditional logic to tailor each contact’s journey inside your automation flows.
Conditional Logic: Send contacts down different paths based on their behavior, status, or attributes.
Automation Efficiency: Prevent manual sorting by automating responses to common triggers.
Scalable Segmentation: Segment contacts dynamically using tag presence, appointment status, and more.
Visual Clarity: Instantly see workflow logic splits for easy debugging and optimization.
How to Use the If/Else Action
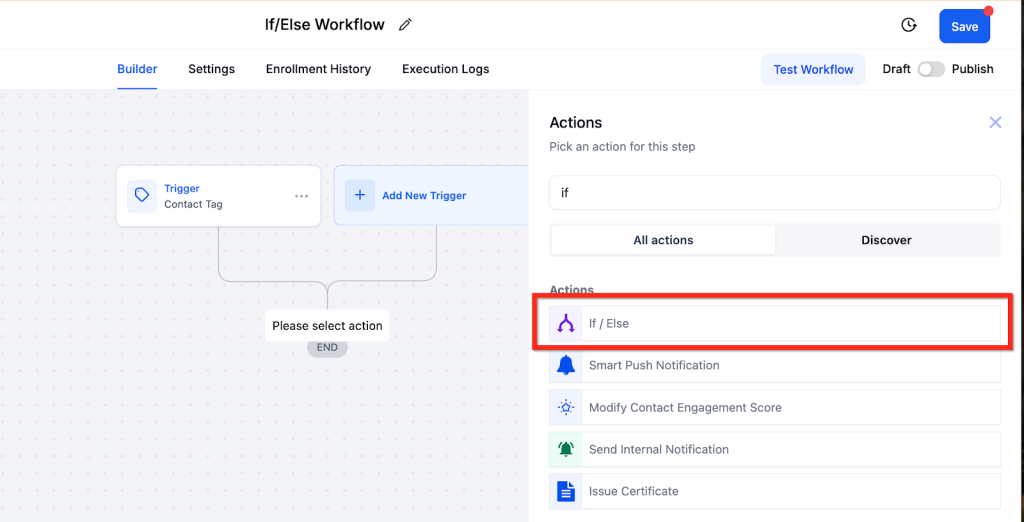
Step 1: Add the If/Else Action
Place the If/Else action wherever you want to split contacts based on a condition.
Open your workflow
Click the + icon to add a new action
Select If/Else from the action list
Step 2: Choose a Logic Setup Method
You can either:
Build from scratch by clicking “Build My Own”, or
Use a prebuilt recipe that includes common conditional branches (e.g., country, tag).
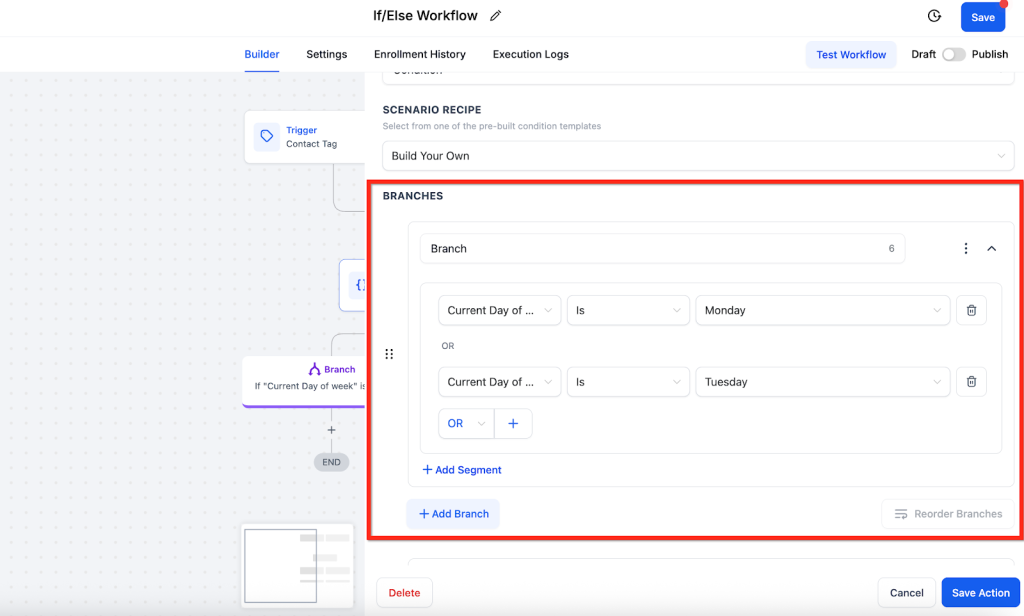
Step 3: Fill Out the Inputs for the First Branch
The first branch appears automatically. Define your condition(s):
Use the dropdown to select the field, operator, and value you want to evaluate.
Example: Current Day of Week → Is → Monday
Click Add Segment to add more condition rows.
Use AND or OR to control how conditions are grouped:
AND = all conditions must be true
OR = only one condition must be true
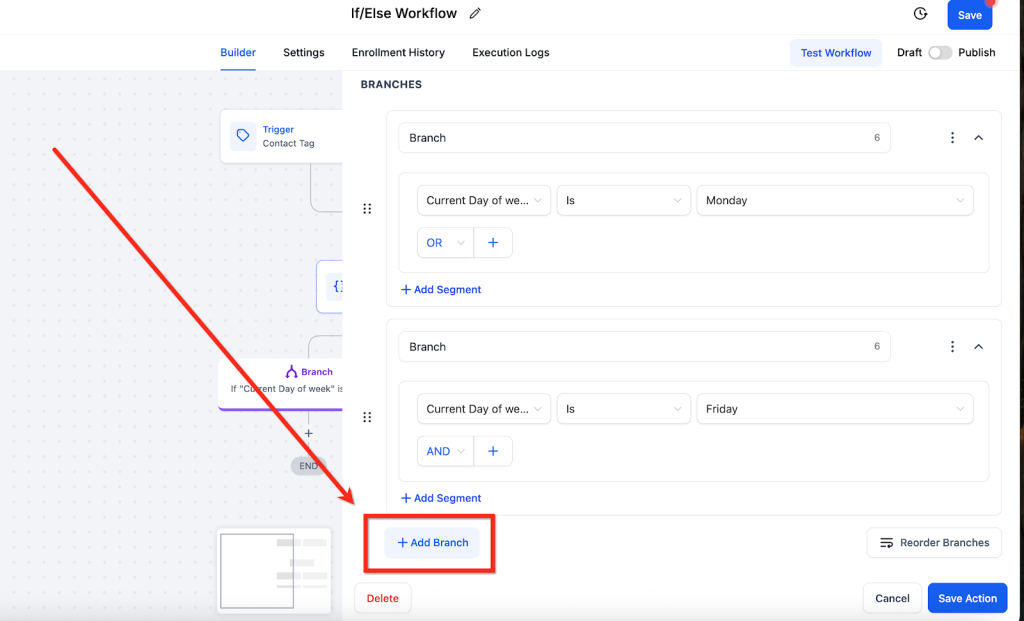
Step 4: Add Additional Branches (If Needed)
Click Add Branch at the bottom of the panel to define another condition group.
You can create as many branches as needed to cover all your logic scenarios.
Example:
Branch 1: Current Day of Week → Is → Monday
Branch 2: Current Day of Week → Is → Friday
Each branch will direct contacts to a separate path inside your workflow.
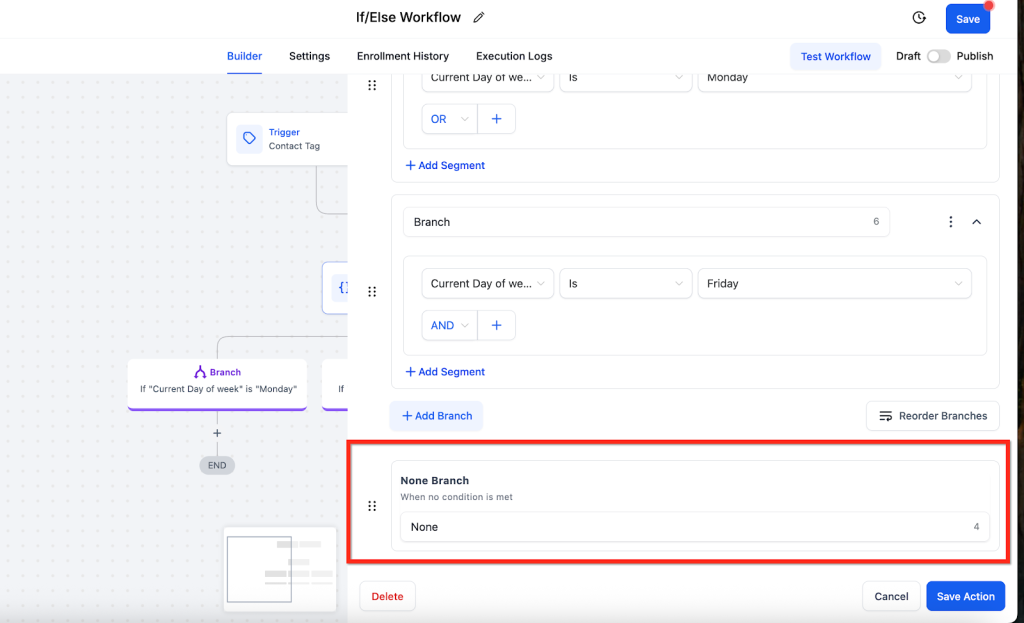
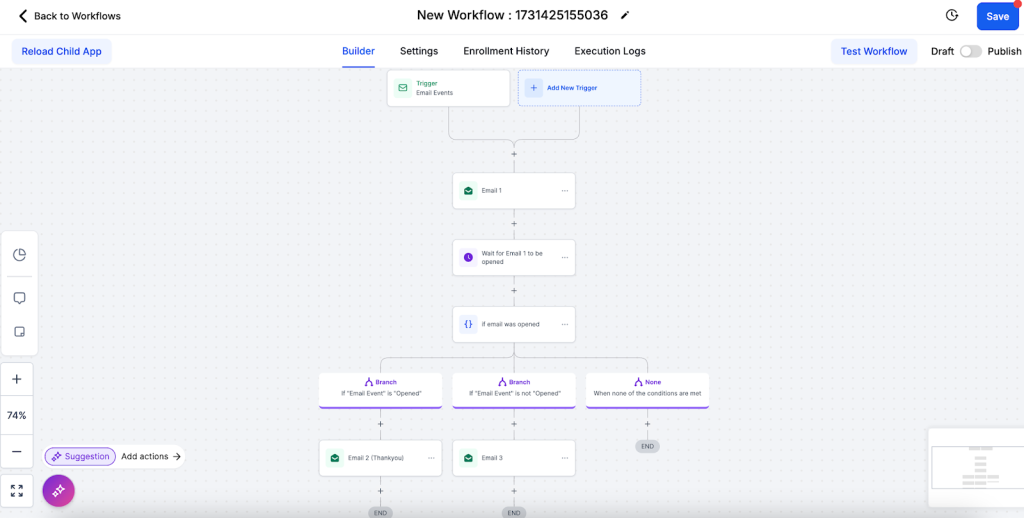
Step 5: Configure the “None” (Else) Branch
The None branch is automatically created and is used when a contact doesn’t meet the conditions of any defined branches.
This branch does not require or support conditions.
You can only name the branch — no logic setup is needed.
Add any fallback workflow actions under this branch (e.g., notifications, default messaging, tags).
Action Details
Value Name
Description
Mandatory
Action Name
The name you assign to this action for easy identification in your workflow.
Yes
Condition
The specific condition that is evaluated (e.g., if an email was opened, if a form was submitted).
Yes
Branches
The paths that the contact will take based on the condition’s outcome (e.g., Yes, No).